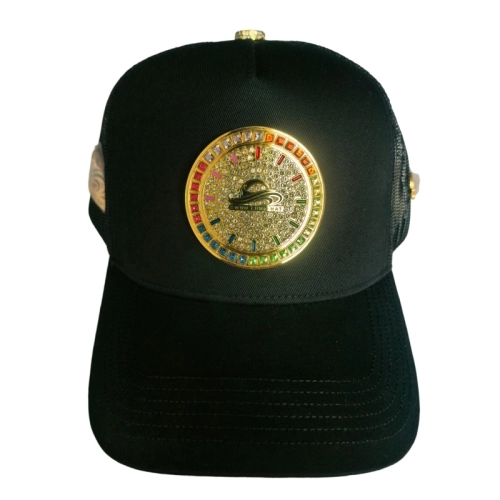
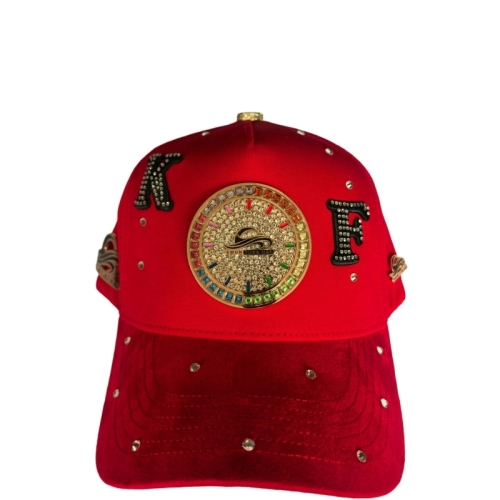
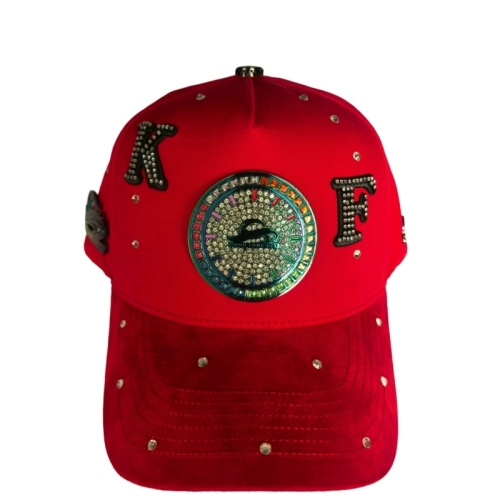
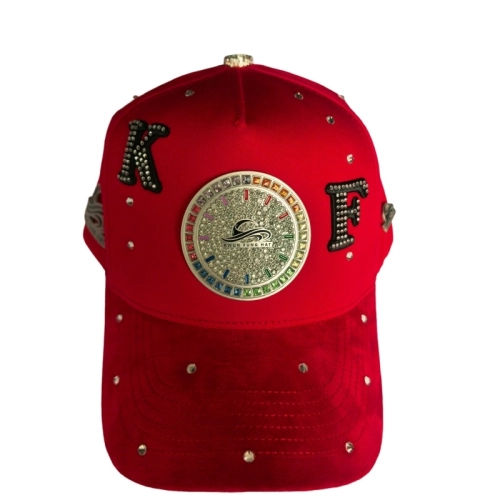
Metal Badge Baseball Caps: Features & Production Process
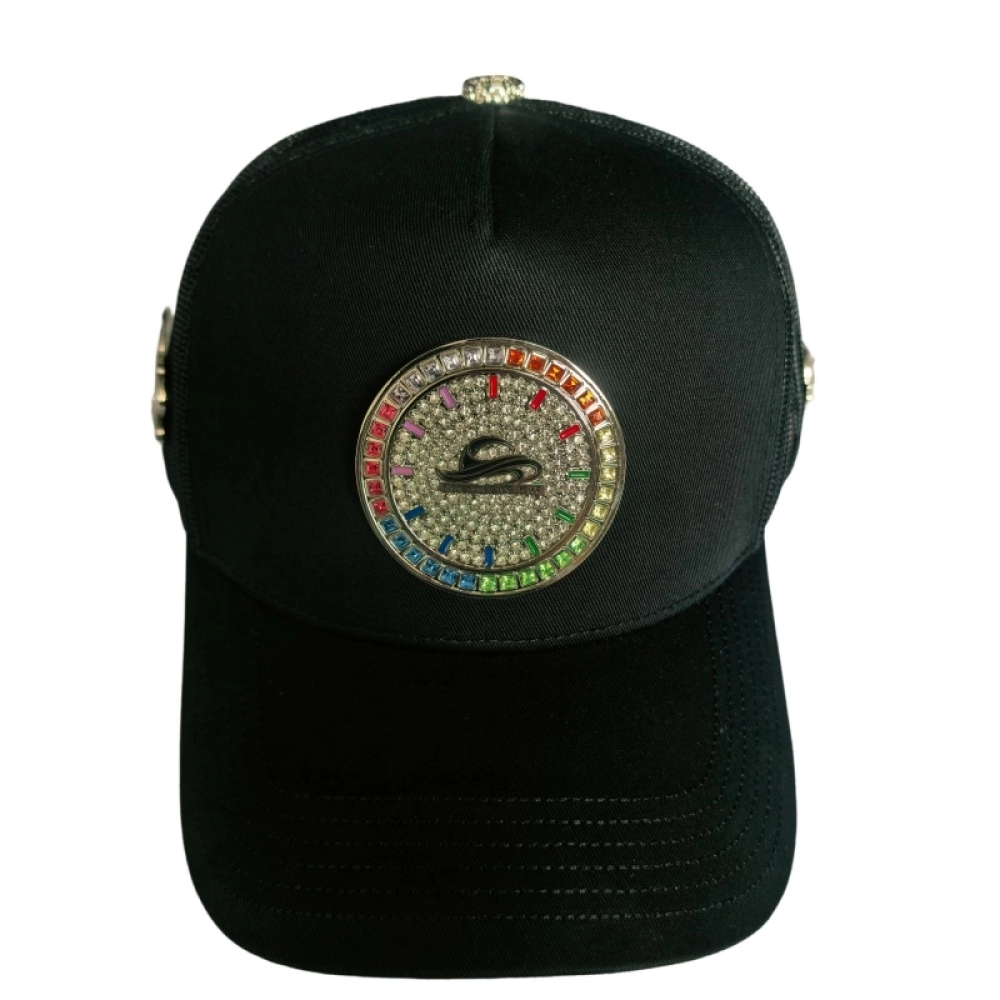
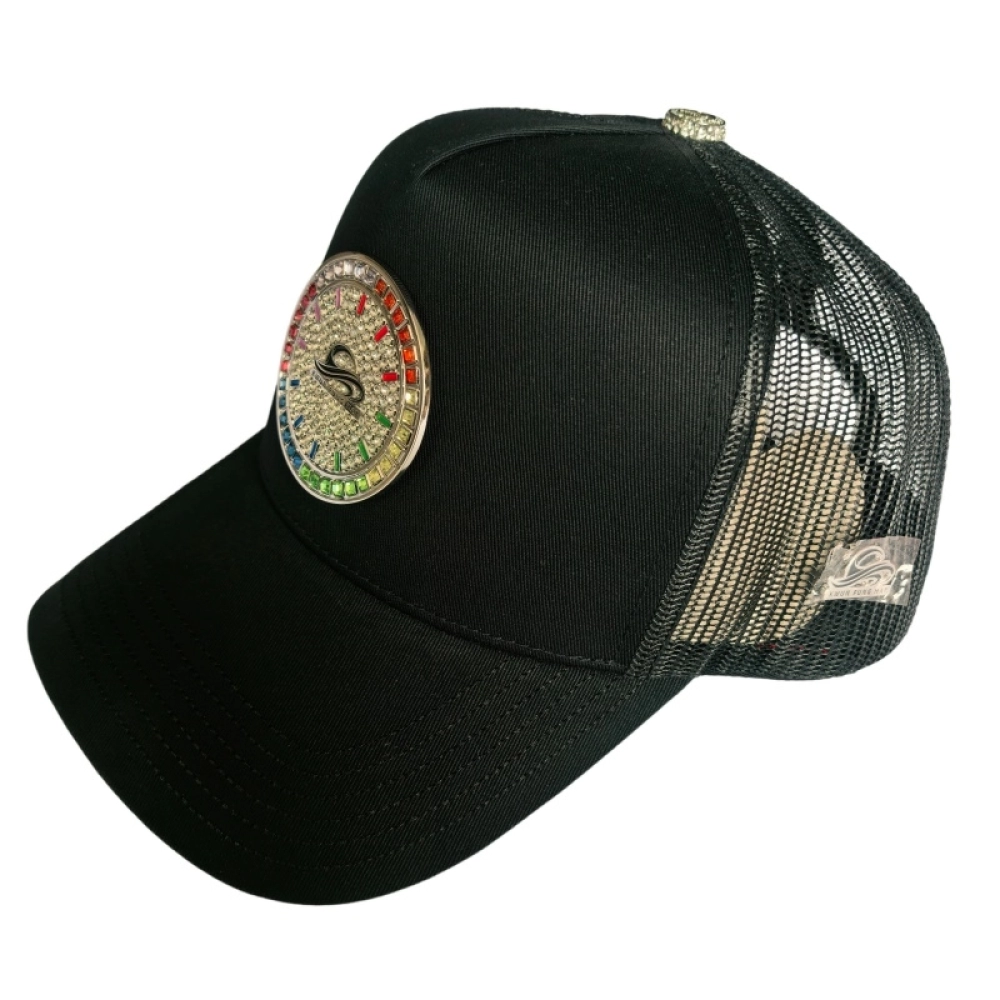
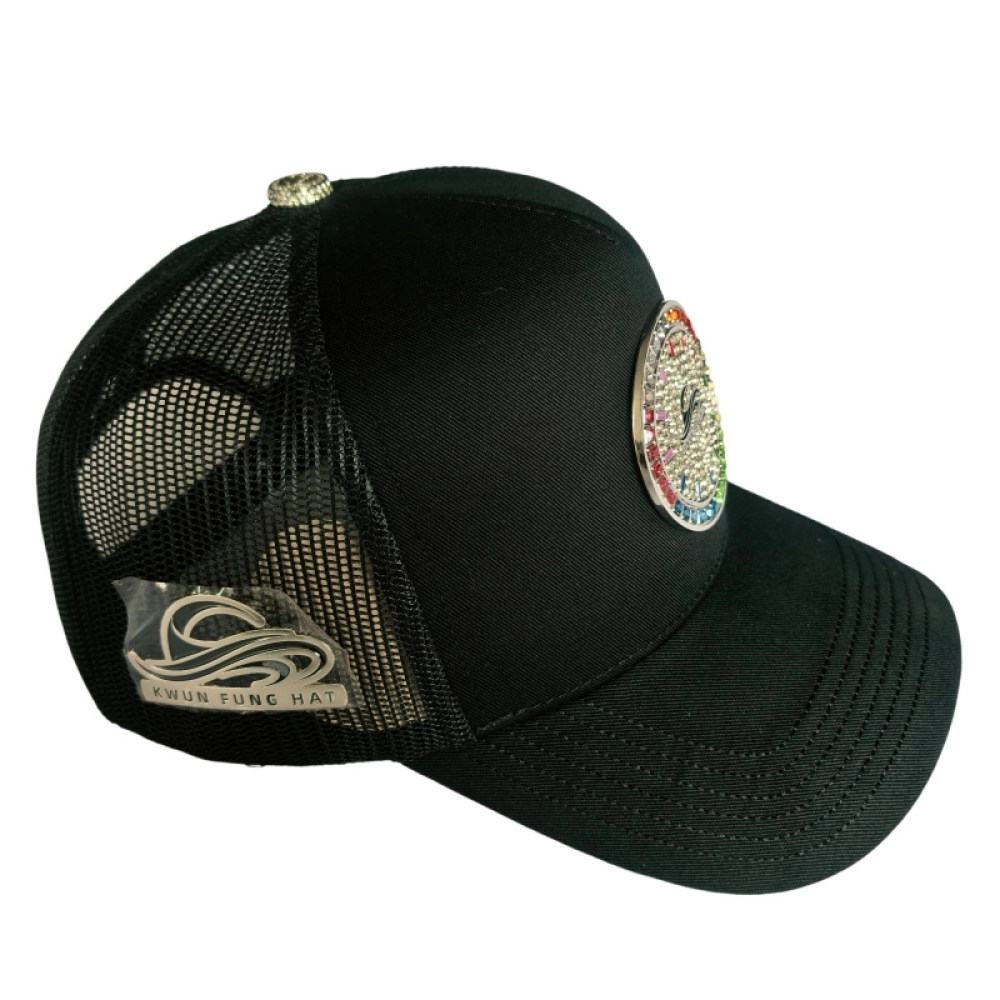
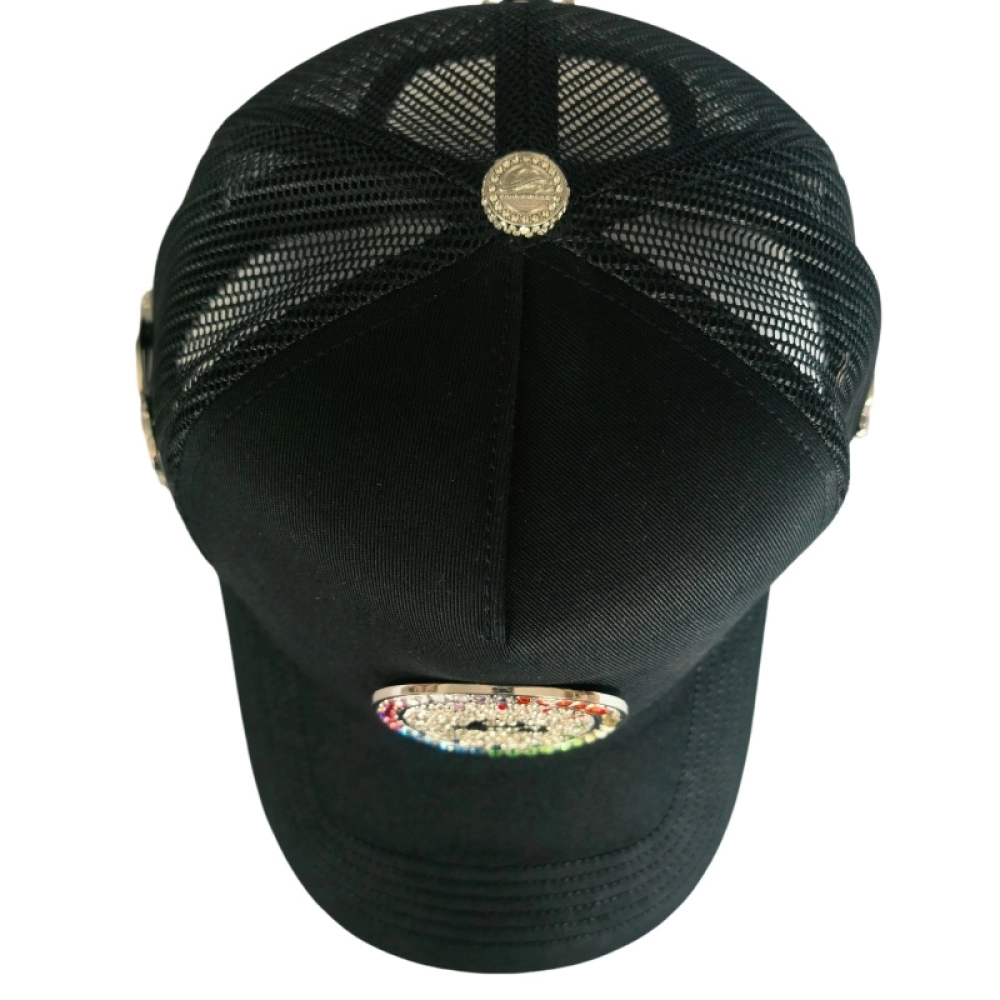
Baseball caps have always been a style of cap with a curved crown, a stiff flattened brim in front, and flexible straps on the back. The Metal Badge Baseball Caps melt the classic baseball cap features together with metal logos or metal patches on the hats.
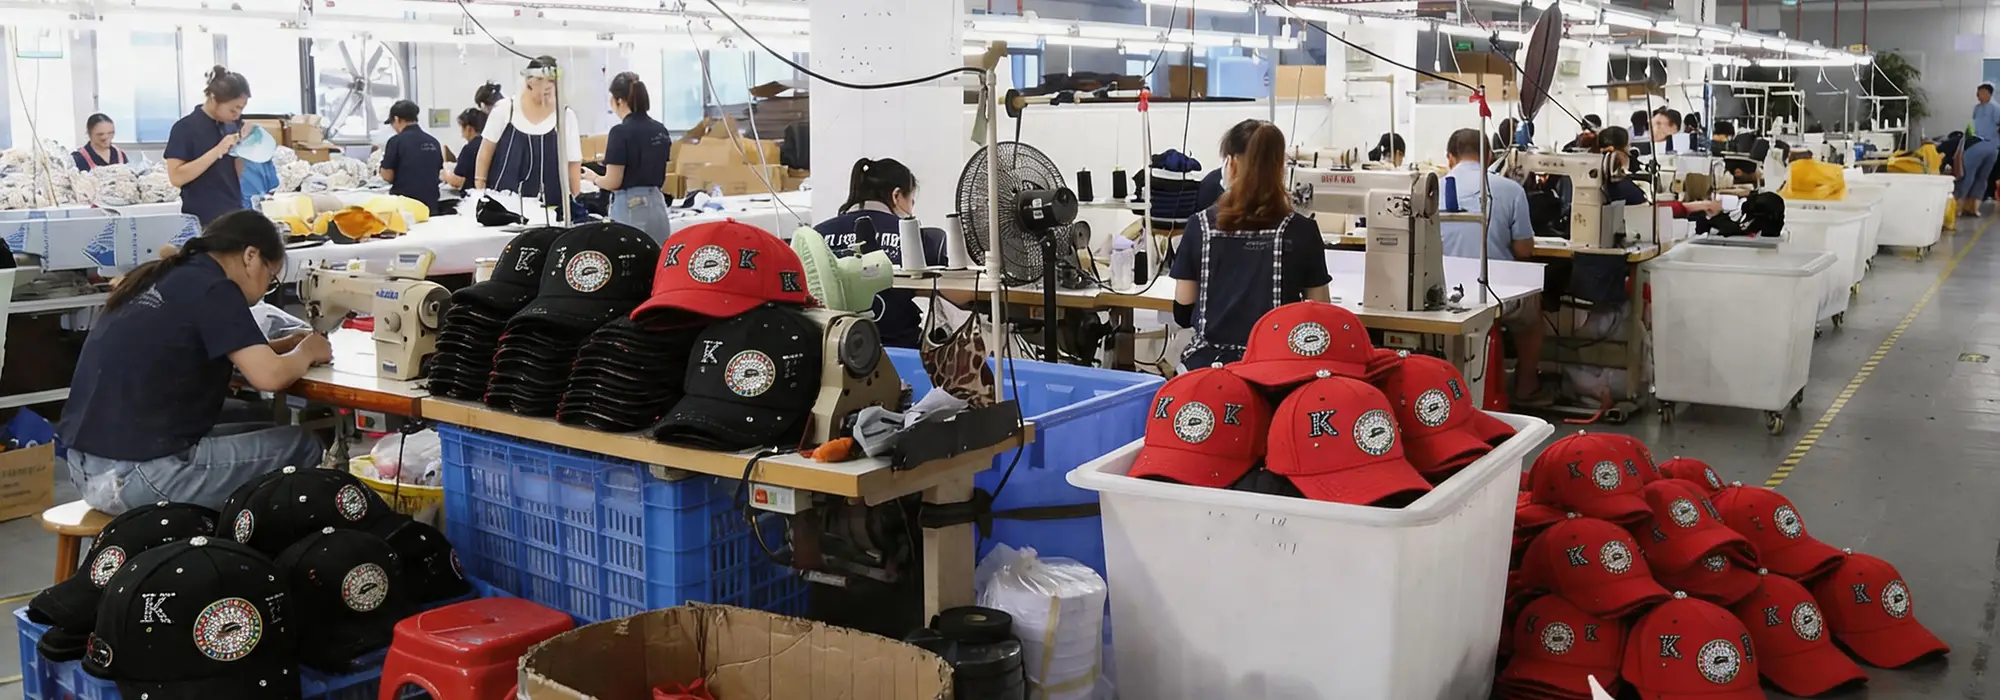
Bulk Production Process of Metal Badge Caps
Step 1: Material Selection
You can choose which component you will put the metal logo on, at the same time confirming the cap style and clothing material, making it easier to proceed to the next step.
Common Clothing Materials:
- Cotton: Features good softness and moisture absorption, and has low allergenicity.
- Wool: Known for its durability, resistance to wrinkles, moisture-wicking properties, and flame resistance.
- Nylon: A polymer base featuring lightweight, durability, and stretch.
- Felt: Has good wear resistance and insulation properties.
- Linen: Durable, soaks up water well, and looks shinier than cotton.
- Polyester: Extremely lightweight and durable, not easily prone to wrinkling. It can be dyed in various colors and does not fade easily.
- Denim: Known for its exceptional durability and comfort when worn.
- Leather: Features durability, and the longer it is used, the softer and more comfortable it becomes.
For the metal badge, the material is always Zinc Alloy, which has superb spreadability and formability. At Kwunfunghats, we ensure that the materials used are of superior quality, suitable for different climates and uses, and meet the needs of our global customers.
Step 2: Cutting the Fabric
Once the fabric is selected, it is stacked in multiple layers and cut to the specific dimensions required for each part of the hat. This process is highly automated, using precision cutting machines to ensure that each piece of fabric is the same size while minimizing fabric waste.
Step 3: Sewing the Panels (Crown Construction)
The next step is to assemble the various parts of the baseball cap's crown. Each cap consists of several pieces of fabric: the front panel, the side panels, and the back panel. These fabrics are sewn together to ensure the crown is the right shape and size. For some styles, such as trucker caps, the back panel uses mesh fabric to enhance breathability.
Step 4: Embroidery and Customization
At Kwunfunghats, we offer custom embroidery services where logos or designs are added directly onto the panels before they are fully assembled. Using advanced embroidery machines, we ensure that every logo or design is perfectly aligned, vivid in color, and durable enough to withstand wear and tear.
Step 5: Attaching the Eyelets
To enhance breathability, small eyelets are added near the top of the cap. These eyelets, either metal or sewn fabric, allow airflow and help keep the wearer cool. This step is crucial, especially for performance caps that need to be breathable for active users.
Step 6: Sew the Brim
The brim (also called the cap flap) is made separately. It is made of multiple layers of fabric sewn together, with sturdy padding sandwiched in between to maintain its shape. Depending on the hat's design, the brim can be flat or curved, ensuring it is durable and maintains its shape for a long time.
Step 7: Lasing the Holes and Attaching Metal Badges
To put the metal badges to the hats permanently, the metal badge has to be riveted into the hats. Several holes are made in the panels after sewing or embroidery, and the metal badge will fill the hole and be riveted to the back of the panels. So the metal badge adheres to the panel forever.
Step 8: Sew the Brim to the Crown
After the brim is made, it is sewn to the front of the crown. This step requires precision to ensure the brim is securely sewn and perfectly aligned with all parts of the crown for a balanced and professional look.
Step 9: Add a Sweatband
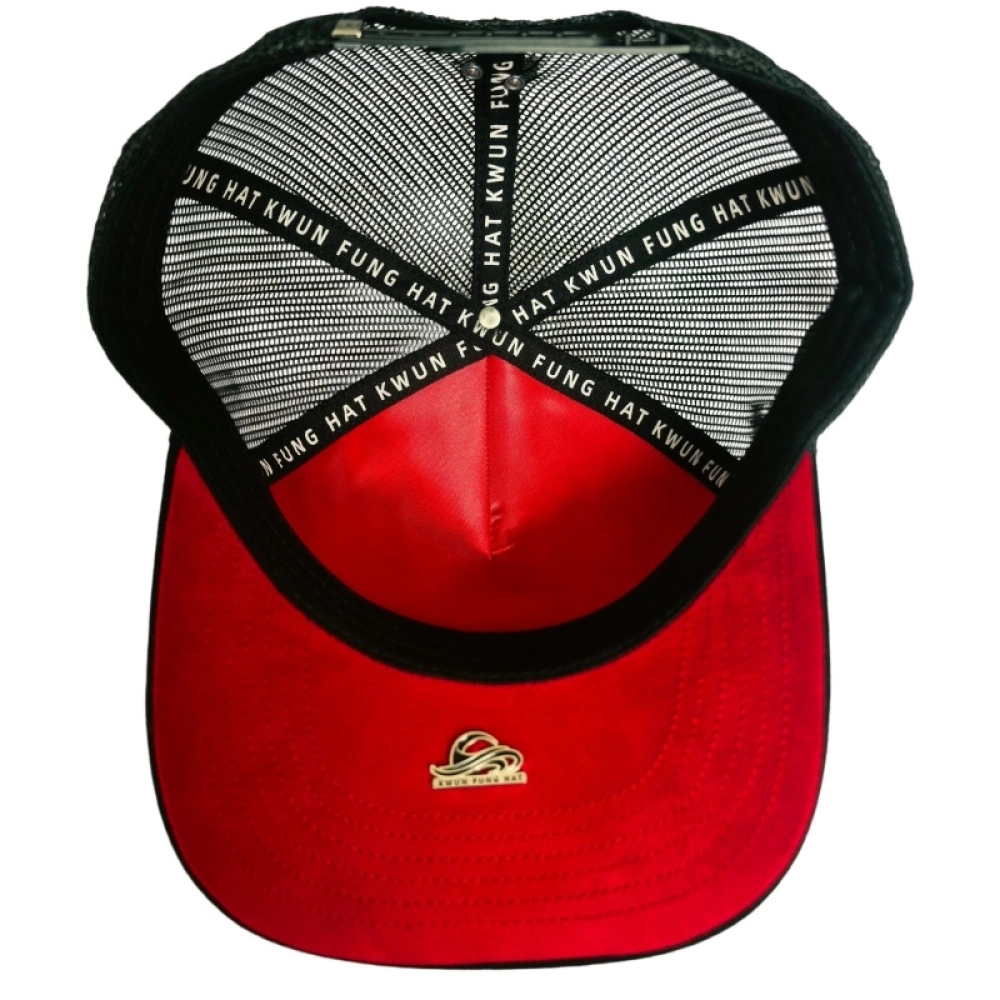
Inside the hat, a sweatband is sewn along the inner edge of the crown. Sweatbands are designed to provide comfort and absorb sweat, making them especially important for athletic caps. We use moisture-wicking materials to enhance comfort and keep the wearer dry during extended wear.
Step 10: Install the Hat Buckle
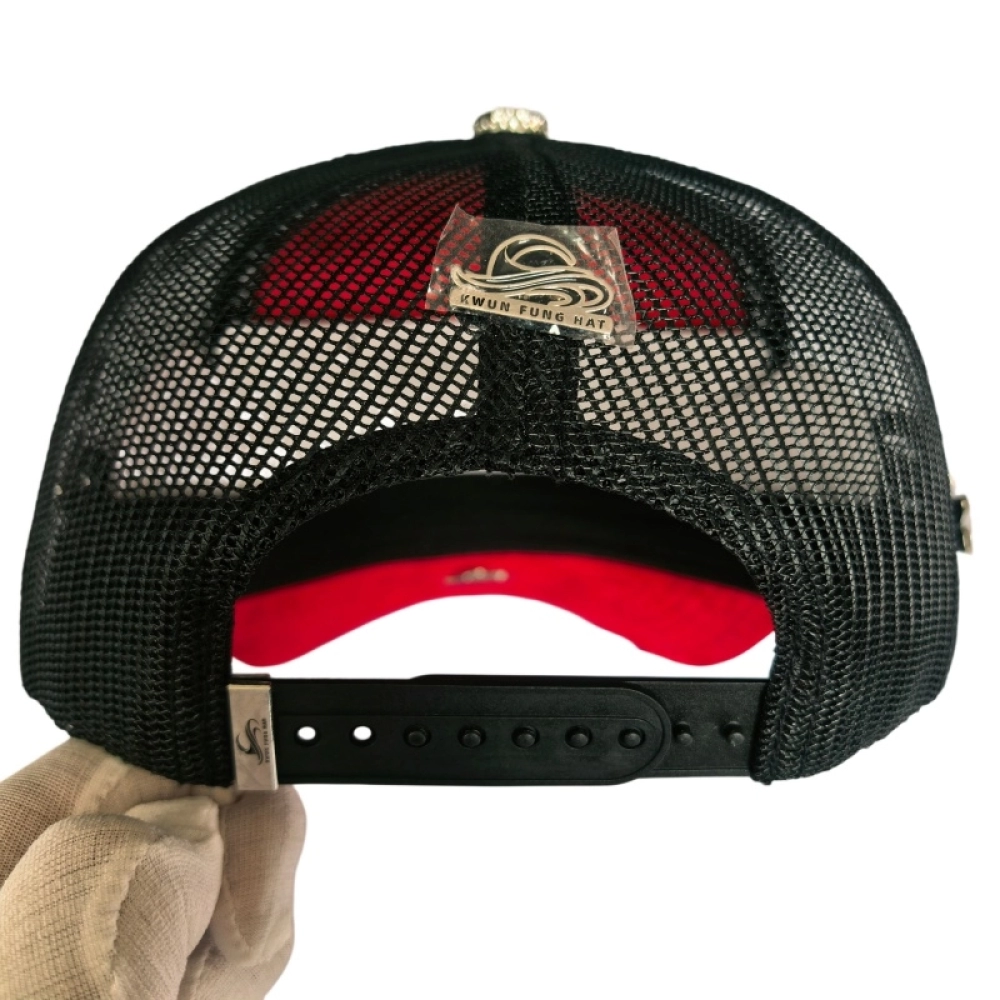
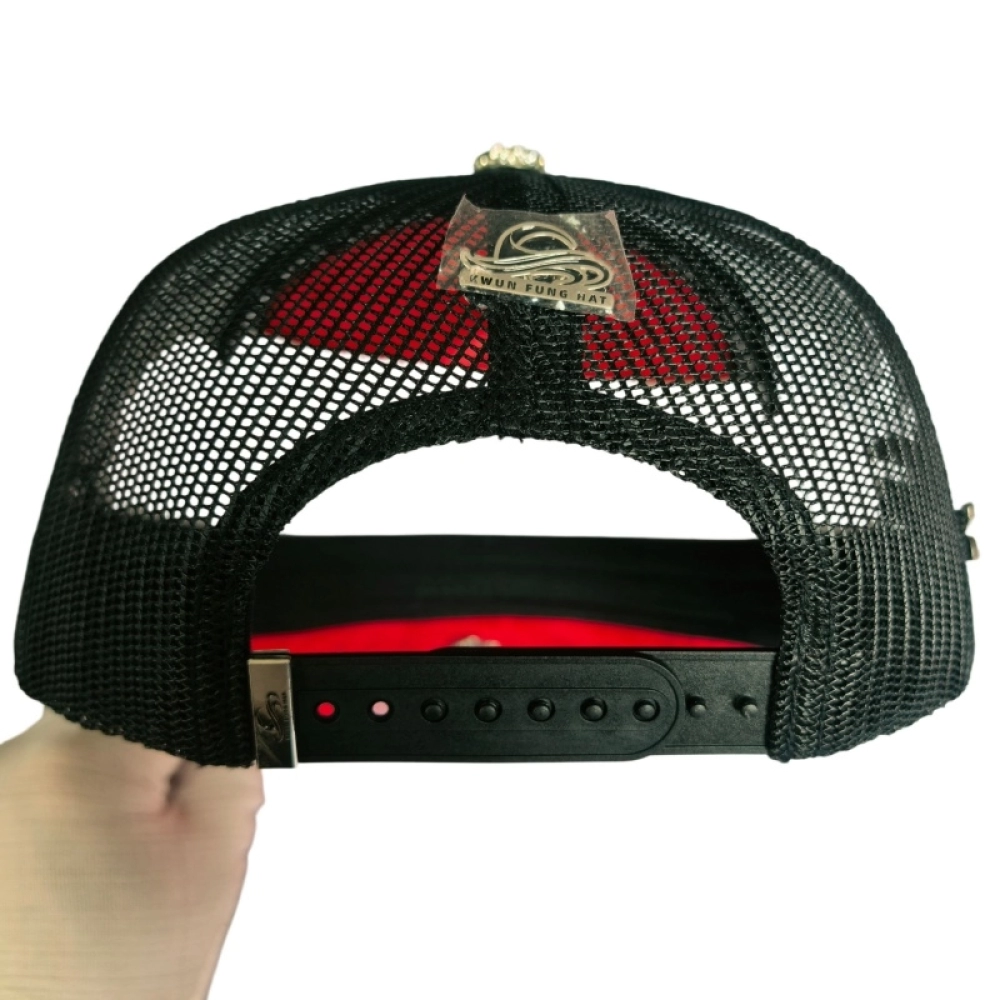
The hat buckle system—whether snap, hook and loop, Velcro, or other adjustable methods—is installed at the back of the hat. This allows the hat to comfortably fit various head shapes and suit different users. The hat buckle uses a robust stitching process to ensure durability.
Step 11: Quality Control and Packaging
The final step in the production process is a rigorous quality control check. Every hat undergoes inspection, including stitching quality, alignment, marking placement, and overall construction. Only hats that pass this strict inspection proceed to the packaging stage. Once approved, the hats are neatly packaged and shipped to our customers, including corporate buyers, brand owners, and distributors in the United States, Europe, and Canada.
Designing and Selecting Cap Metal Badges
Designing and selecting cap metal badges is a meticulous process. Metal badges offer a more sophisticated look than traditional embroidery or fabric patches, and are commonly used in uniforms, high-end sports caps, or branded accessories, significantly enhancing the product's perceived quality and industrial feel.
Here's a detailed guide to designing and selecting metal badges:
1. Determine the Design Style and Purpose
Purpose Scenarios:
- Government/Disciplinary Forces: Such as police, firefighters, or security personnel, typically choose bronze, with a rigorous design style incorporating elements such as shields or national emblems.
- High-End Brands: Often use stainless steel or zinc alloy, using minimalist logos or laser-cut techniques to convey a modern feel.
- Retro/Trendy Styles: Antique finishes (such as antique silver or bronze) can be chosen, paired with distressed caps (such as dad hats) to create a sense of history.
Design Principles: Keep it simple. Due to the small size of metal badges (typically between 1.25 and 3.5 inches), intricate fine lines and microtext are difficult to perfectly reproduce in production.
2. Choosing the Right Metal Material
Material directly affects durability, visual appeal, and cost:
- Zinc Alloy: The most commonly used material. Suitable for complex 3D shapes and hollow designs, with a smooth surface, and a significant cost advantage for mass production.
- Stainless Steel: Extremely corrosion-resistant and has a mirror-like finish. Ideal for outdoor hats, and often laser-cut for exceptional detail.
- Bronze/Copper: A high-end choice, offering the best retention of detail. Commonly used for medals or formal military/police cap badges.
- Aluminum: Lightweight and inexpensive, suitable for mass-produced promotional items or everyday wear where a lightweight feel is desired.
3. Deciding on the Surface Finish
- Electroplating Colors: Common colors include bright gold, bright silver, gunmetal, rose gold, or black nickel.
- Enameling:
- Soft Enamel: Textured, with strong lines, and offers good value.
- Hard Enamel: Smooth and even surface with a jewelry-like texture and excellent durability.
- Laser/Stamping: Logos are directly engraved or embossed onto the metal surface without additional coloring, resulting in a more rugged visual effect.
4. Choosing a Backing Method
The method of securing the badge determines its stability and whether it will damage the hat:
- Butterfly Clutch: The most common method, suitable for lightweight hats, and easy to install.
- Screw & Nut: The most secure method, suitable for hard-top hats (such as wide-brimmed hats), preventing the badge from rotating or falling off.
- Bendable Legs: Metal legs pass through the hat and bend to the sides for secure fastening, suitable for badges made of softer metal materials.
- Adhesive Backing or Metal Sheet Welding: For specific brands such as BadgeCaps, laser cutting may be used to permanently attach it to a specific bracket.
5. Size and Placement Reference
- Front Center: The classic position on a baseball cap. The recommended width is 2 to 3 inches (5-7.5 cm), and the height should not exceed 1.5 inches to maintain visual balance.
- Side Position: A modern, popular style, typically placed on the side of the forehead; the size is recommended to be reduced to 1 to 1.5 inches.
- Top Button: A metal embossed badge can even replace the fabric-covered button at the top of the hat, serving as a finishing touch to the design.
Shopping Tips
- Request a Sample: Always request a physical sample before placing a bulk order. Visually inspect the electroplating for evenness and air bubbles, and test the security pins on the back.
- Vector File: When providing your design, please use a vector graphic in .AI, .EPS, or .SVG format to ensure the accuracy of the badge mold.
Following is the metal badge template for your reference.
Are you planning to customize formal uniform hat badges for your company team, or would you like to design a trendy hat badge with your brand's unique characteristics?
Choosing Hat Embroidery: Techniques and Selection Suggestions
When choosing hat embroidery, a trade-off must be made between techniques such as flat embroidery, 3D puff embroidery, and appliqué. Different embroidery methods not only determine the visual style but are also influenced by the complexity of the logo, the number of colors, and the budget.
Here are the characteristics and selection suggestions for several mainstream embroidery techniques:
1. Flat Embroidery
This is the most common and widely used technique, where stitches are laid directly on the surface of the hat.
- Advantages: Capable of handling fine details, small fonts (recommended height not less than 0.25 inches), and complex logos. Compared to 3D embroidery, it is more durable, less prone to snagging, and more washable.
- Suitable for: Company slogans, detailed patterns, or multi-color gradient designs.
- Technical parameters: Shape thickness is typically between 0.05 inches and 0.5 inches.
2. 3D Puff Embroidery
This technique creates a raised effect by filling the area beneath the embroidery thread with foam padding.
- Advantages: Strong visual impact, excellent three-dimensionality, making brand logos look more upscale and stand out.
- Disadvantages: Not suitable for fine lines or intricate details, as the foam needs sufficient space to be covered by the thread. It is generally more expensive than flat embroidery, and the padding may collapse after prolonged wear.
- Recommendation: Only use for simple, bold lettering or geometric shapes. The minimum thickness requirement is typically 0.2 inches.
3. Appliqué & Patches
Pre-made embroidered pieces or fabric are sewn or heat-pressed onto the hat.
- Features: Can be combined with different materials (such as terry cloth, leather, PVC) to create a vintage or industrial look.
- Advantages: Enables extremely high precision and is not limited by the direct sewing of the hat's material (such as a mesh hat).
Recommended Selection List
- For high cost-effectiveness/large-volume production: Flat embroidery is recommended. Fast production speed and lower cost.
- For emphasizing brand presence/street style: 3D embroidery is recommended. Rich visual layers, suitable for minimalist logos.
- For extremely complex patterns/small text: Flat embroidery or embroidered patches are recommended. Flat embroidery supports fine lines better, and patches can be pre-made with intricate details.
- For retro sportswear/campus style: Chenille or appliqué are recommended. They have a towel-like texture and a strong sense of nostalgia.
Caps Embroidery and Other Patches
Caps closure and patches
Hotfix Rhinestone Hats: Customization Guide
Hotfix rhinestone hats are a popular way to add custom "bling" to accessories like baseball caps, trucker hats, and beanies. Unlike standard flatback rhinestones that require messy liquid glue, hotfix rhinestones come with a pre-applied, heat-activated adhesive on the back.
Key Customization Methods
There are three main ways to apply these stones to your headwear:
- Hotfix Applicator Wand: A handheld tool with interchangeable tips that heats individual stones. This is best for small, precise designs or adding a few scattered gems.
- Heat Press: Recommended for professional-looking results on flat areas like the front of a trucker hat. Using a dedicated hat press ensures even heat (typically 325°F–335°F) and pressure for about 15 seconds.
- Household Iron: A budget-friendly option for home DIYers. Use the highest non-steam setting (like Wool) and press firmly for 40–45 seconds without moving the iron to avoid shifting the stones.
Popular Hat Styles & Application Tips
- Baseball & Fitted Caps: Popular for "full pedrería" (fully covered) looks or adding logos and initials to the brim and crown.
- Trucker Hats: Often customized using rhinestone transfers—pre-made designs on sticky tape that you simply iron onto the foam front.
- Beanies: Ideal for "all-over" sparkle. Since beanies are textured, using a hotfix applicator can help the stones sink into the knit for a better bond.
Essential Supplies
- Rhinestones: Common sizes for hats include SS6 (2mm) for fine detail and SS10 (3mm) or SS16 (4mm) for standard designs.
- Transfer Tape/Sheets: Used to create your own patterns before ironing them onto the hat.
- Teflon Sheets: Crucial for protecting the hat's fabric from burn marks during the heat application.
- Pre-made Patches: For a faster project, you can buy rhinestone iron-on patches in shapes like stars, skulls, or flowers.
Setting Rhinestones into Metal Badges
Setting rhinestones into metal badges depends primarily on whether your badge is a ready-made piece or still under design and production (mold making). Here are three main methods for embedding rhinestones into metal, depending on the situation:
1. Cold Glue Setting (Best for Ready-made Badges/DIY)
This is the simplest method, suitable for metal badges with grooves or flat surfaces.
- Suitable Rhinestone Type: Flat-bottomed rhinestones (Non-Hotfix).
- Key Tools: E6000 glue or B7000 glue (these two glues are flexible after drying and won't turn white or brittle like 502 glue).
Steps:
- Clean: Wipe the metal grooves with a cotton swab dipped in alcohol to remove oil (this is crucial to prevent rhinestones from falling out).
- Apply Glue: Apply a very small amount of glue to the groove with a needle, controlling the amount so that the glue just barely doesn't overflow after pressing in the rhinestone.
- Pull Up the Rhinestone: Use a rhinestone stick to pick up the rhinestone.
- Pressing: Place the rhinestone vertically into the groove and gently press to ensure the bottom is fully in contact with the glue.
- Letting: Allow to stand for at least 24 hours for the glue to fully cure.
2. Traditional Prong/Bezel Setting (Most Professional, No Glue Required)
If your badge was designed with metal prongs or a metal frame during casting, this method produces the most jewelry-like effect.
- Suitable Rhinestone Types: Chaton rhinestones.
- How to Use: Place the rhinestone into the metal setting. Using a specialized edge-pressing tool or small pliers, tighten the metal prongs towards the center, securing the rhinestone's girdle.
- Advantages: Highest security, and better fire (light can penetrate the rhinestone's base).
3. Hotfix/Hotfix Rhinestone Setting (Suitable for Batch or Simple Decorations)
If your rhinestones have adhesive backing (gray or black base).
- Suitable Rhinestone Types: Hotfix rhinestones.
- Operating Method: Use a hot-fix rhinestone pen (similar to a small soldering iron) to heat the surface of the rhinestone. The heat will melt the hot-melt adhesive on the back of the rhinestone, allowing it to adhere firmly to the metal.
- Caution: Metal conducts heat quickly; avoid touching the metal parts during operation to prevent burns.
4. Industrial Production: Epoxy/UV Glue Fixing
For mass production, this method is typically used:
- Pour UV epoxy into a metal tray.
- Place the rhinestone into the glue.
- Ignite under a UV nail lamp for 30-60 seconds for instant hardening. This method is highly efficient and leaves a clear, protective layer on the surface.
Special Reminder
- Never use 502 glue/instant glue: This type of glue will create a "white haze" on the rhinestone surface after drying, directly ruining its shine.
- Rhinestone Size: When selecting rhinestones, the diameter should be slightly smaller than the metal tray by 0.1-0.2mm to allow for sufficient glue.
Are you looking to add diamonds to your existing badge, or are you considering customizing a badge with diamonds?
Setting Rhinestones on Hat Clips and Metal Ornaments
For hat clips and related metal ornaments with rhinestones, the method of "setting" the rhinestones is similar to that of ordinary badges, but because hat clips are frequently disassembled and subjected to stress, the requirements for durability are higher.
Here are some of the most common solutions for these accessories:
1. Magnetic Hat Clips (The most common type of badge clip/decorative clip)
These clips usually consist of two parts: a base clip and a metal piece with rhinestones.
- Setting Method: The manufacturer will pre-cut a circular groove when making the mold.
- Process Recommendation: Use AB type epoxy resin adhesive (such as Swarovski's special adhesive CG 500).
- Advantages: Industrial-grade strength, resistant to high and low temperatures, and the rhinestones will not fall off in outdoor golf or sports environments.
- Operation: Mix A and B adhesives in equal proportions, dot into the groove, insert the flat-bottomed rhinestone, and allow to cure naturally for 24 hours.
2. Claw-Set Hat Ornaments (High-end/Jewelry Feel)
If you want a brighter effect, you can use accessories with "metal claws".
- Setting Method: The metal base comes with 4 or 6 prongs.
- Instructions: Place the pointed-back rhinestone (Chaton) in the center and use small pliers to press the metal prongs firmly against the edge of the rhinestone.
- Features: This method requires no glue, and the rhinestone has more facets, making it appear more sparkly than flat-backed settings.
3. UV Epoxy Resin Covering Method (Protective Layer)
Hat clips are prone to friction outdoors. To prevent rhinestones from being scratched off:
- Instructions: After attaching the rhinestones, cover the surface with a thin layer of UV transparent epoxy resin and then cure it with a UV lamp.
- Effect: This "seals" the rhinestones in a transparent protective shell, preventing them from falling off and providing dust and water protection.
4. Other Accessories
Besides hat clips, these methods also apply to:
- Magnetic Ball Markers: Usually attached using flat-backed rhinestones.
- Visor Trim: Often uses long, adhesive-backed hotfix strips for securing rhinestones with heat.
- Lapel Pins: For small embellishments, B7000 glue is recommended; its extremely fine tip makes it easy to work on small areas.
Avoidance Tips
- Outdoor Use: If the hat clip will be exposed to direct sunlight, avoid using regular hot melt glue, as high temperatures may soften the glue and cause the rhinestones to fall off. AB glue or professional metal adhesives are the best choices.
- Sweat and Rust Prevention: For the metal base, stainless steel or gold-plated material is recommended; otherwise, sweat oxidation will cause the metal to tarnish, making the rhinestones appear dull.
Are you currently planning to DIY or seeking advice on factory-produced mass-production?
 Español